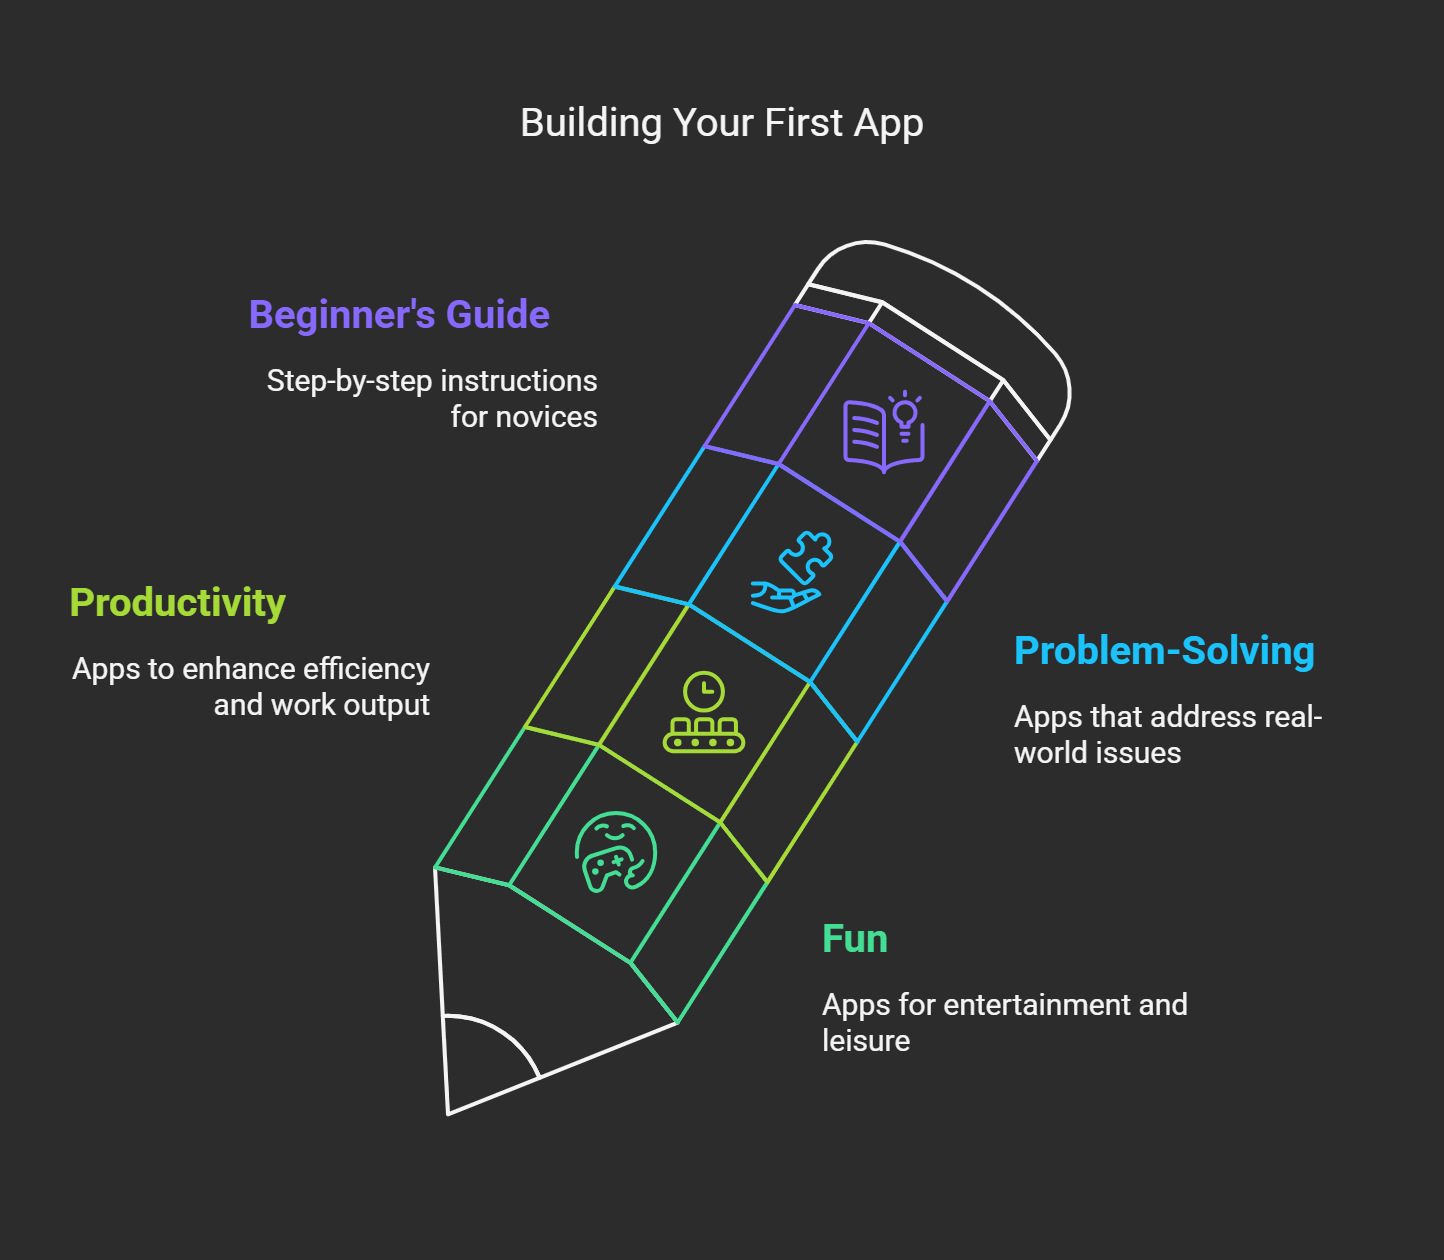
Did you know that more than 80% of people around the globe use smartphones every day? Yeah, apps are everywhere. Depending on what you’re doing, you might want to have some fun, boost your productivity, or solve a real-world problem. Apps are an indispensable part of our lives. However, here is the fun part, you don’t have to be a coding wizard to create one.
In this guide, I will explain the fundamental concepts of creating an app for beginners in 2025. Whether you have ideas for launching your app on the app store or not, we have it all. By the end of this article, you should feel confident enough to go from an app idea to a real-world product.
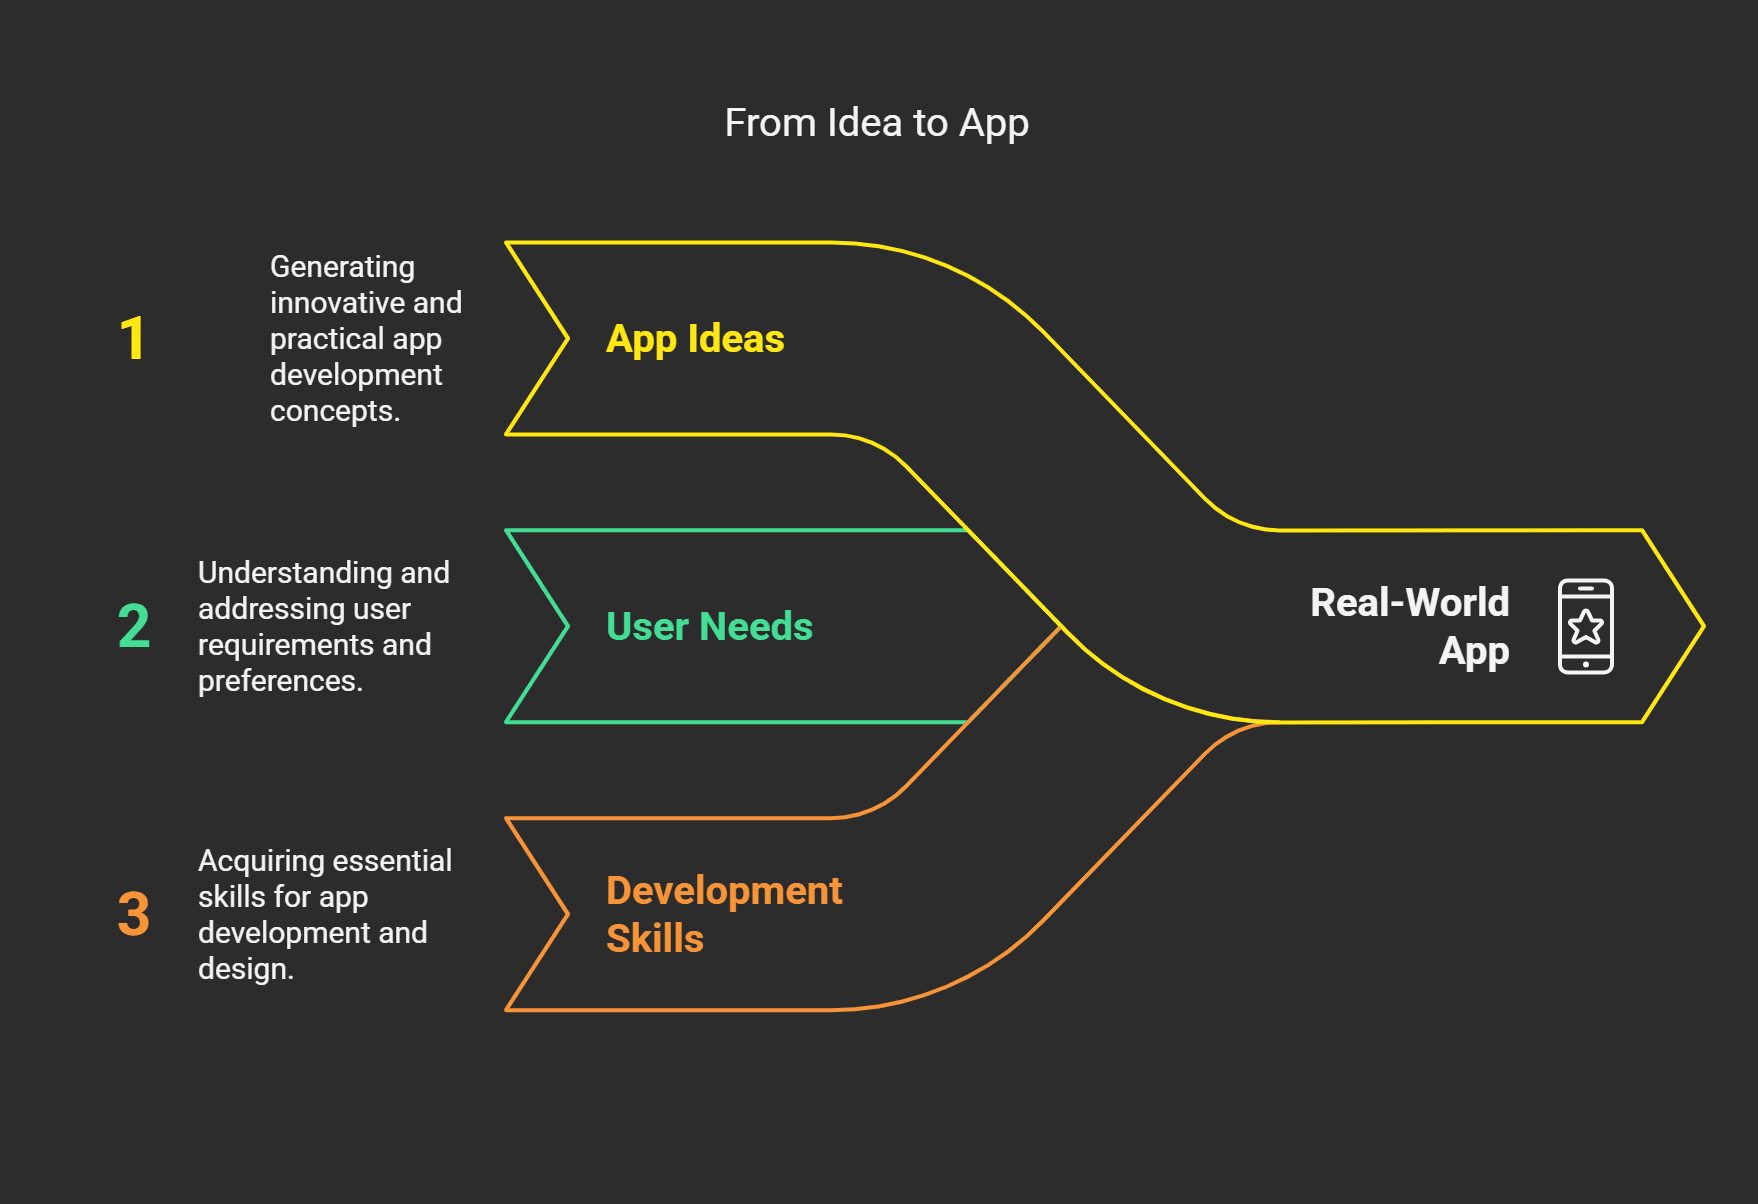
Getting to Know the Fundamentals of Application Development
When I first started dabbling in app development, I figured it would be a cakewalk. I mean, how difficult can it be? It turns out, at least at first, pretty dang hard. I remember staring at my screen, trying to figure out what “SDK” even covered. Software Development Kit? Sure, OK, great. But what does that do, though? It was like learning a new language while trying to build a house simultaneously. I did not get it right on day one.
Something I got wrong in the early days was immediately trying to write code without understanding what was underneath it. I got all pumped, downloaded Android Studio (because, come on, Android apps are all over the place), and started typing lines of Java code I could hardly comprehend. The result? A hot mess. If I attempted to run it, it would crash.
Frustrating doesn’t even begin to describe it. But here’s what happened, things started to click when I took my time learning about app architecture, UI/UX design principles, and the basics of what works on the backend. And if you’re beginning, don’t skip the boring stuff. Follow those MVC or MVVM pattern tutorials; you will thank those a year later.
Let me break it down for you. Don’t build a native app before signing contracts first off, you have to decide if you’re building a native app, hybrid app, or web-based app. Each has its pros and cons. Native apps, for example, tend to be faster because they’re designed specifically for one platform, such as iOS or Android. Hybrid apps, though, allow you to write once and have your app run on multiple platforms, which sounds great until you see that performance might not be so outstanding. I had gone hybrid back in the day because I wanted to reach users quickly, and did I pay when bugs sprung up left and right.
Another lesson I learned along the way? Do not attempt to build the next Instagram out of the gate. Create something simple, a to-do list app, perhaps, or a basic calculator. These projects have you think about fundamental concepts like what a navigation flow looks like, how to store information, and how to get user input. Also, completing a small project gives you a delicious sense of accomplishment, which motivates you to keep going.
Let's talk about tools for a second. And, honestly, there's no shortage. Some people love Flutter for cross-platform apps; some prefer Swift on iOS and Kotlin on Android. I've used React Native a lot, giving me fantastic results. It's super flexible, has a lot of libraries, and has just community support. If you get stuck, someone probably had the same issue as you and published it on Stack Overflow.
Lastly, testing is key. You can't simply build an app and then stop. Try it on various devices, screen sizes, operating systems, you name it. I once launched an app and discovered that it looked horrible on tablets.
App development is definitely daunting, but it's worth every bit of it. Stay at it, keep learning, and remember to celebrate the small victories.
Brainstorming Your App Idea
So, you wanna make an app, huh? I still remember the first time I attempted to develop my app idea. It was well, it wasn’t a sight to behold. I would sit there looking at a blank page for a few hours, praying that inspiration would hit me like lightning. Instead, what followed taught me more about creativity than any inspirational quote ever could.
Here’s the thing, brainstorming isn’t a mystical process where ideas drop from the sky (if only). For me, it began with frustration. Like severe frustration. Every good idea seemed done to death already, and I was aiming to be free to create something new, but all I was doing was coming up with a massive list of everything I could not do. Social media apps? Done. Fitness trackers? Check. Food delivery services? Yep, we’ve got those too. But then, one day, standing in line waiting for coffee, I saw something that struck me as funny. Their system crashed, so the barista had to hand-write orders on paper and boom. A lightbulb went off. What if there was an app that was the operational backbone of your small business without being complicated and costly?
That insight led to one important lesson, app ideas don’t just come out of nowhere real-life problems inspire them. This is where I’d give you my biggest tip, begin to listen for pain points in your environment. Is there something that annoys you every day? Or perhaps someone else is finding a task unnecessarily tricky? Could you write it down? Take a notepad or note on the phone. You never know when inspiration might strike.
Let me be clear, simply writing whatever pops to mind is not enough. Once you've identified a list of potential problems, ask yourself, Who else has this problem? How big is the audience? Is tech better able to solve it than already existing solutions? By the way, these are all things that Google loves to see, so remember them if you're blogging about your journey later.
Something else I learned the hard way? Use a goddamn template when you get started. My second app idea was too ambitious, a combination of a calendar, project management tool, and social platform. No wonder this thing tanked before I even built it. Start small and keep your scope simple. Focus on one problem solved well rather than ten problems solved poorly.
Oh, and here's some expert advice: communicate with people. Not only friends or family, either. Contact people who are likely to use your app. Ask them what they need most. You might find their answers surprising. For instance, throughout my research phase, I learned that local businesses weren't as interested in high-end features and were less focused on reliability. That realization transformed everything about my approach.
That said, brainstorming your app idea shouldn't be a Mount Everest affair. Take small steps, be curious, and trust the process. And for goodness sake, if you feel panicky, grab a coffee you never know what you might notice while waiting in line.
Deciding Your App’s Features and Functionality
I’ve been there staring at a blank whiteboard (or, honestly, it’s a notes app on my phone) and deciding what must be part of my app’s feature set. It’s overwhelming. Such as, should I open with the Sparkly stuff that’s gonna go “Wow”? Or do I work on the behind-the-scenes boring stuff that no one will ever see but that keeps everything functional.
I still vividly remember the first app I ever worked on, a fitness tracker for runners. I was excited about adding all these bells and whistles. Think social sharing, leaderboards, custom avatars you name it. I got so caught up in making it “Instagrammable” that I didn’t remember the basics. It turns out that when the GPS tracking doesn’t work, nobody cares how badass their avatar looks. We launched, and guess what? The app crashed more than I’d care to admit.
Here’s something I learned that might help, list the must-have features compared to the nice-to-haves. So, if you are developing an e-commerce application, for instance, secure payment processing and inventory management features go without saying. However, augmented reality try-ons or AI product recommendations can be saved for version 2.0. Concentrating on stability at the outset can save you the lousy user reviews later.
Something else I wish someone had told me sooner is to consider scalability. When we set out to build that fitness app, we had no vision of more than a few hundred users at launch. Big mistake. Within weeks, tens of thousands of downloads rolled in, and our servers crashed under the strain. It was like watching a house of cards fall in slow motion. So, when you're mapping out your app's features, can this system scale with my audience? If not, rethink it.
One other thing is to remember to talk with potential users early. At the time, I thought I knew everything that runners wanted. After surveys and interviews, low and behold, they didn't care about leaderboards, asking for simple route suggestions and weather updates. Who would've thought?
A final tip before you pack this away, record everything. Seriously. All of the feature ideas, wireframe sketches, and meeting notes. There were days when I swore I would remember why we did not want a specific button placement only to forget two weeks later. Having documentation in place makes life much easier decision-wise in the future.
So, if you're building a productivity tool, a gaming app, or even yet another fitness tracker (don't), invest a few hours in laying out your features. Make slight changes for what's most essential and grow from there. And don't forget to get to know the avatars next time.
How Do You Choose the Right Tools And Platforms
I needed a laptop and Wi-Fi when I started creating this content. Not long before, I understood that choosing the right tools and platforms can be the difference between a smooth workflow and an absolute disaster. Come on, we’re talking more than one tool to get the job done here; who will you build a whole house with, which is just a hammer?
I recall countless hours of video-editing agony on free software because who wants to pay for that? Those free tools were slow and buggy and made my work look third-rate, to be honest. Once, I put in three days of work compiling a video only to have the program crash, and we were gone for good. Yep, gone. So all that work goes down the toilet. That’s when I decided to bite the bullet and purchase Adobe Premiere Pro. Yes, it wasn’t inexpensive, but the difference in quality and efficiency? Worth it.
Now, about platforms it is clear that platforms have enormous data about us. Oh, the paralysis of publishing decisions. In the past, I’ve experimented with posting all over YouTube, Medium, LinkedIn, Instagram, TikTok. My logic? “More places = higher exposure. That’s a faster way to burn out than a candle in a hurricane. As it turns out, casting a wider net doesn’t do you much good. Instead, try 2-3 platforms that your audience socializes on. Some recommenders will be better if you like long-form tutorials, so YouTube and LinkedIn may be more appropriate than TikTok. Know your audience, know your niche.
Here is one other thing that I wish someone had told me much, much sooner, don’t neglect analytics tools. Once I learned how to use it, Google Analytics became my best friend. At first, I’ll confess, it was like staring at hieroglyphics. However, once I learned to track metrics like bounce rate, session duration, and keyword performance, I could adjust my strategy based on actual data, not guesswork. And here, semantic keywords are gold. These are not just buzzwords; they are phrases people search for, guiding Google in your content.
Oh, and plugins? Yoast SEO is almost a prerequisite if you run a blog. This involves optimizing your titles, meta descriptions, and readability scores. And if you’re posting on social media, tools such as Canva or Later will save you hours designing graphics or scheduling updates. Honestly, these little angels have saved me more than I can count.
So, picking the right tools and platforms isn’t easy, but it pays off immensely. Experiment, do little things, and iterate along the way. You don’t need every shiny gadget out there; you only need the ones that help you make killer content while keeping your sanity.
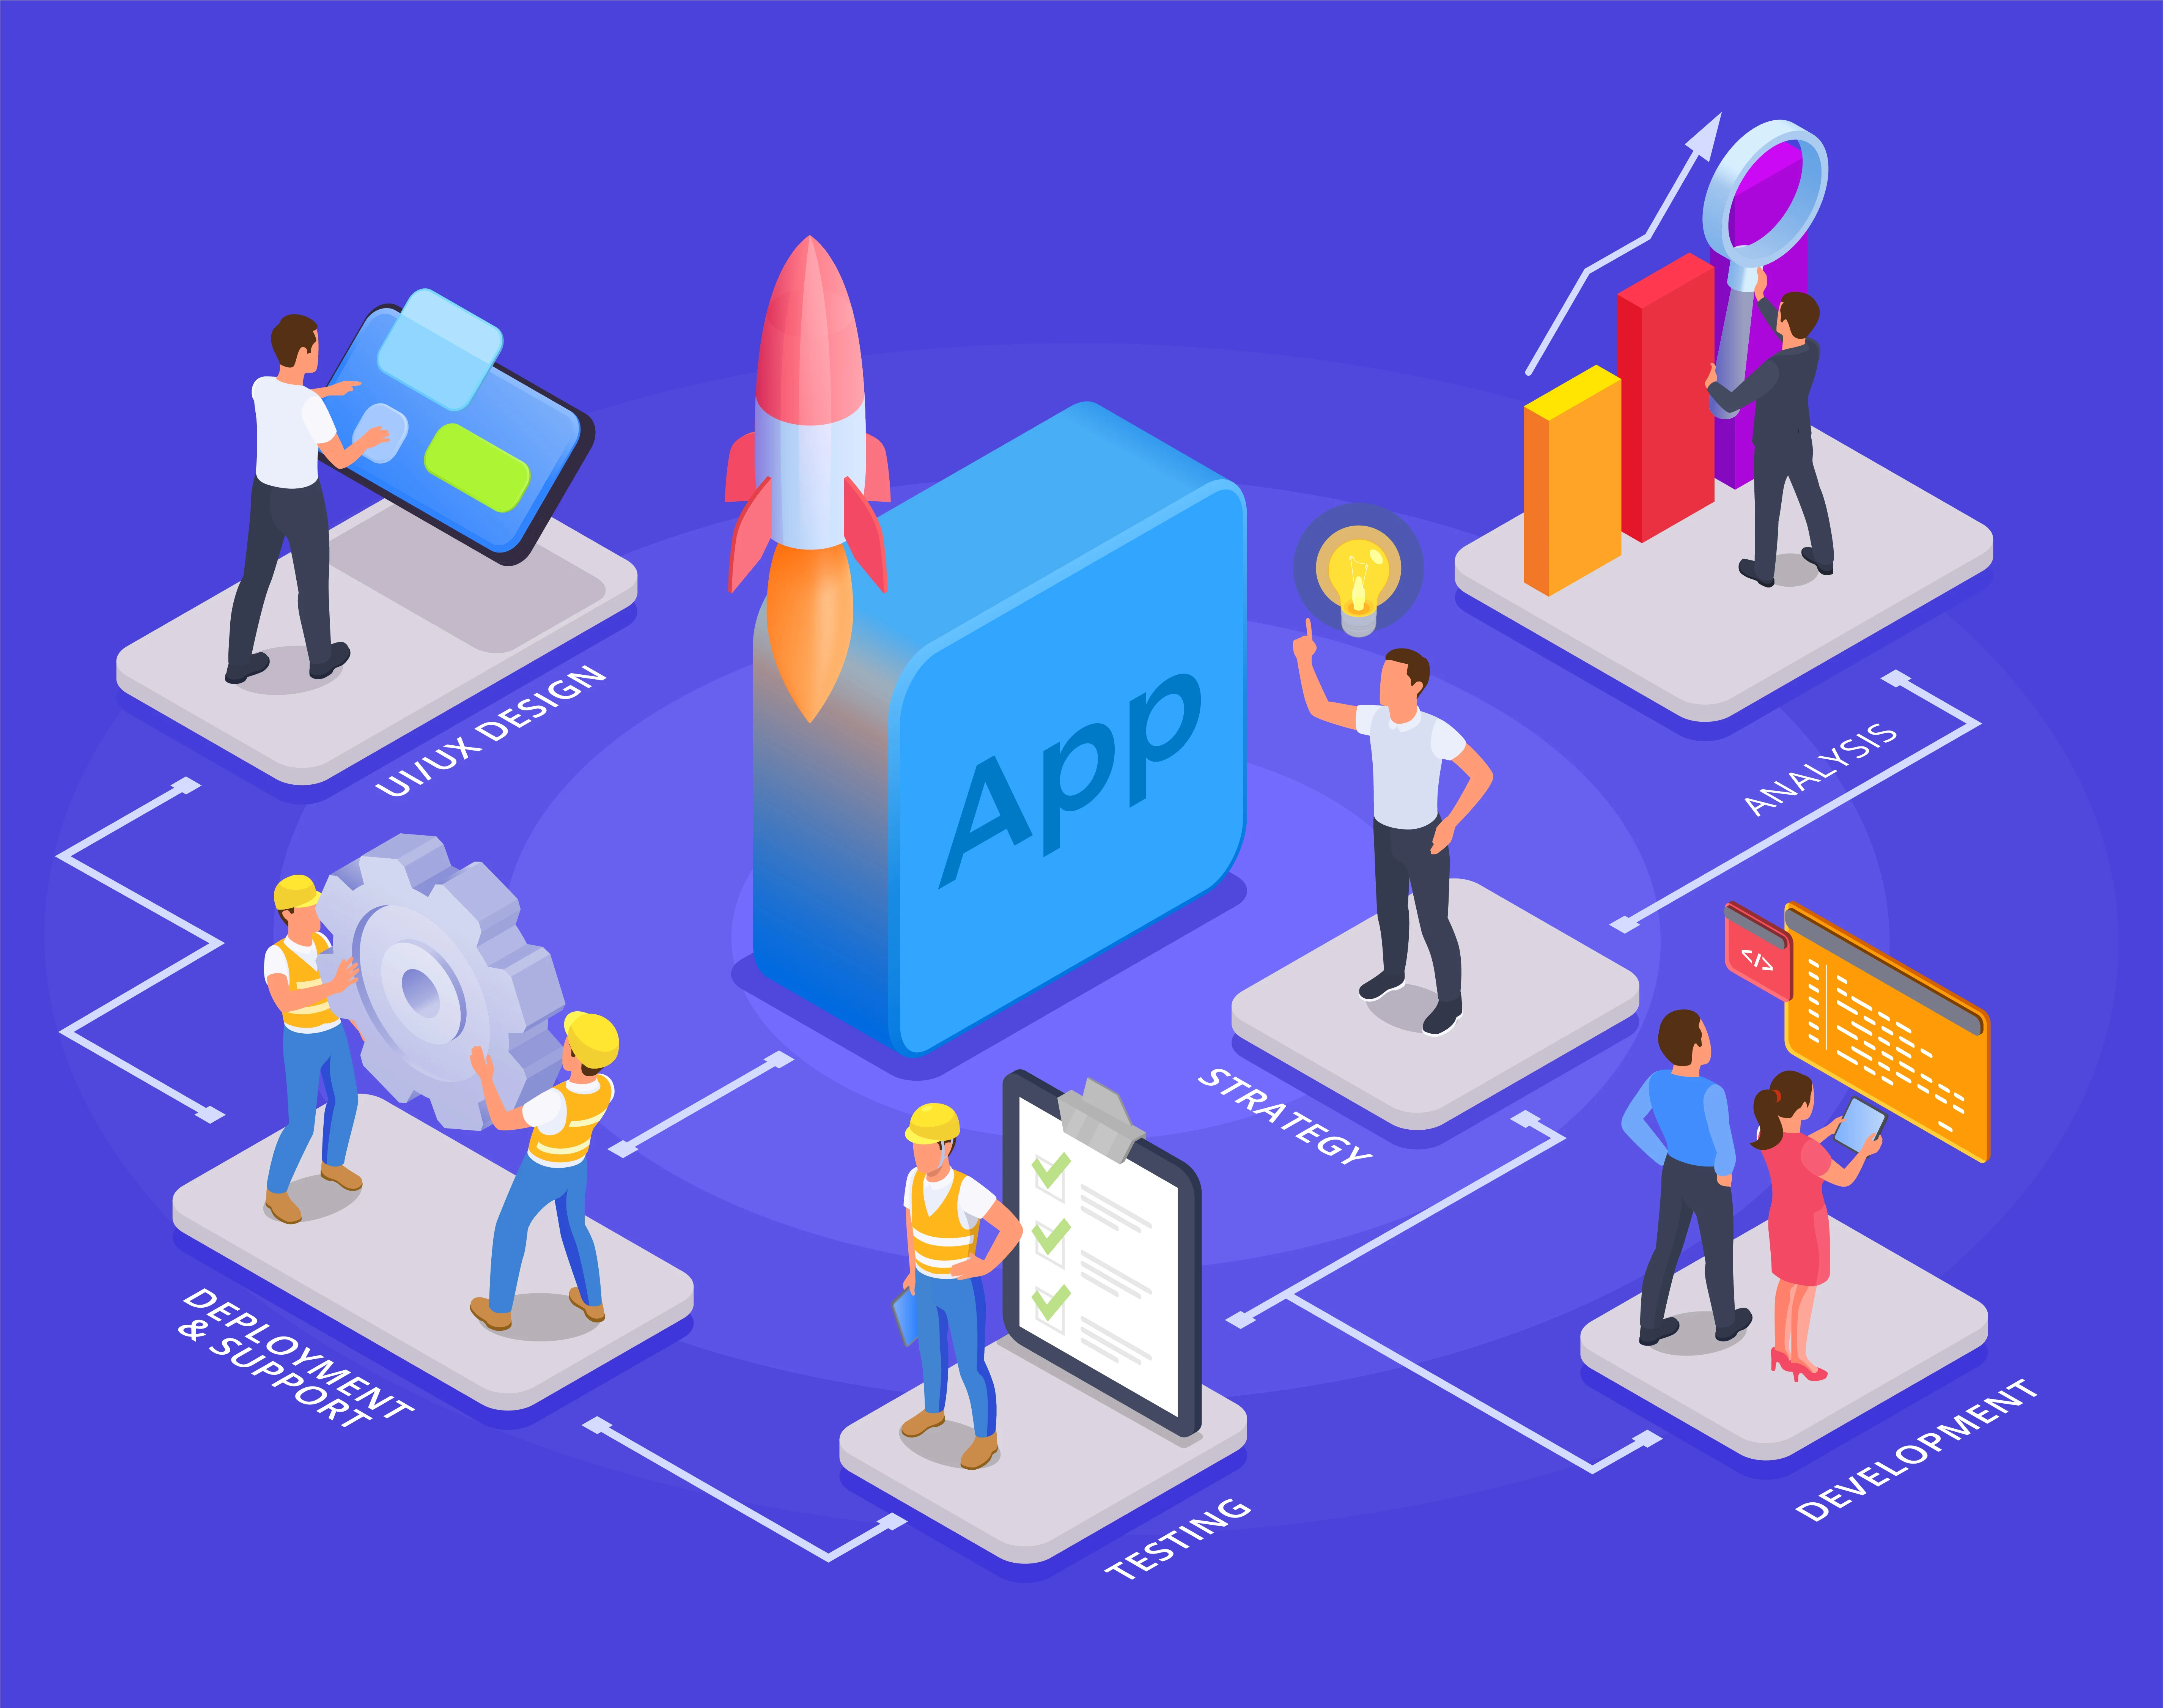
Develop Your App: Five Step Process
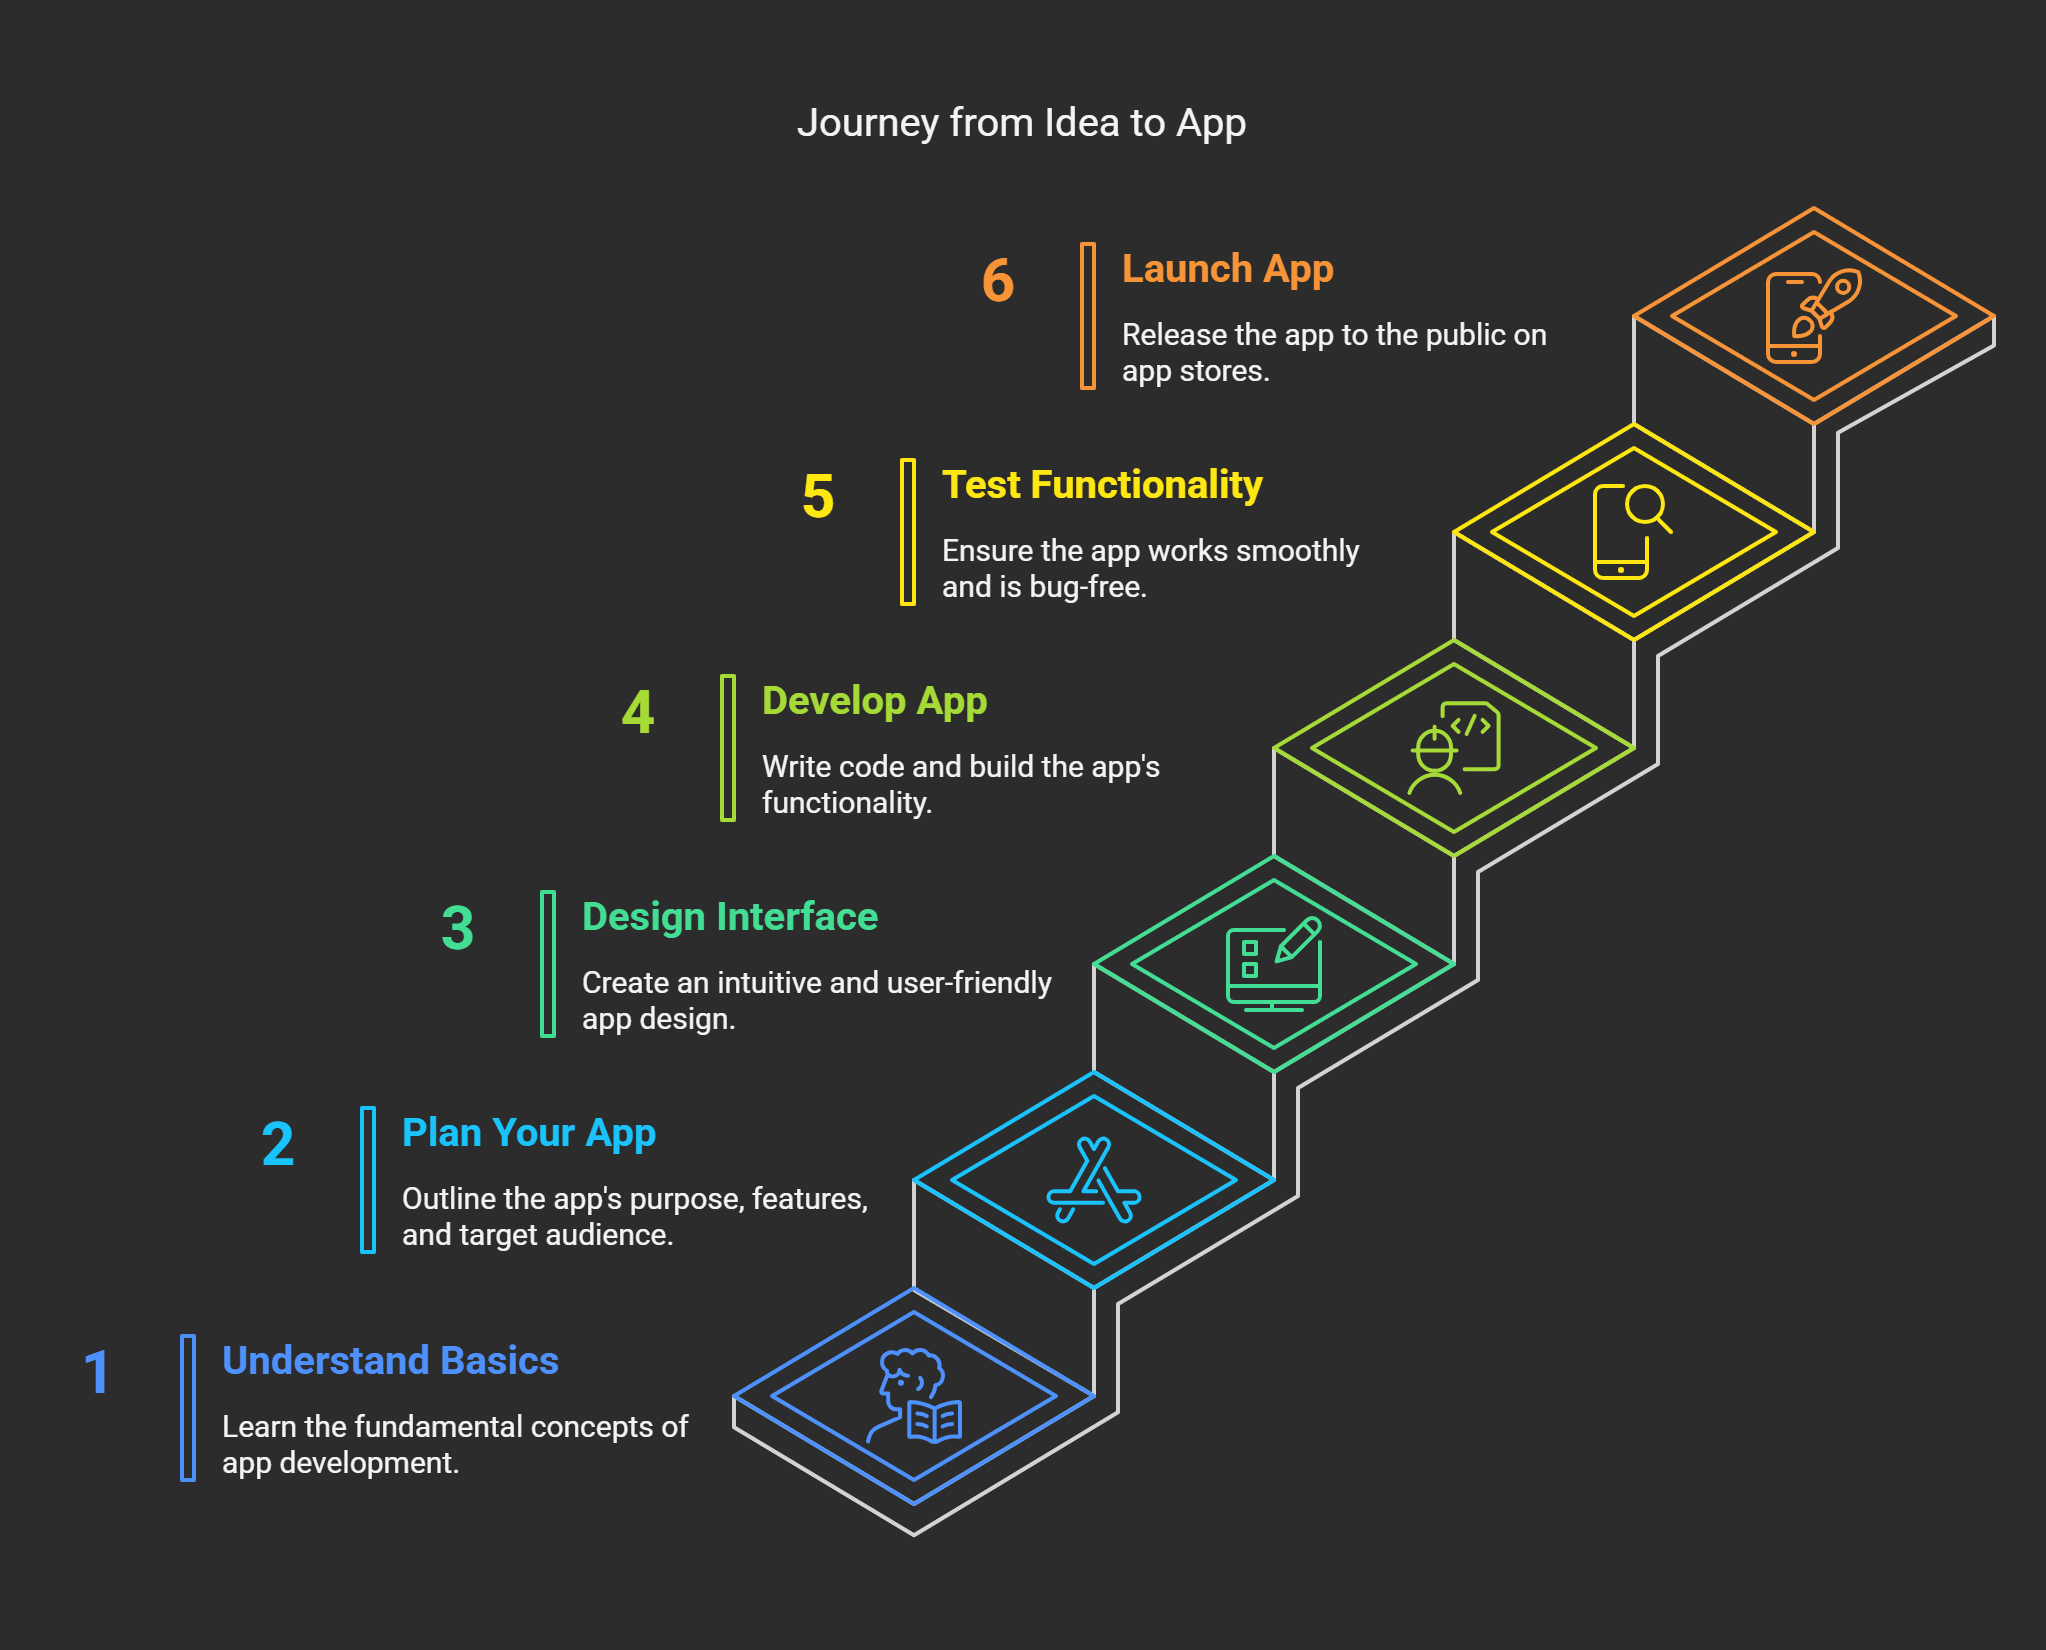
Do you know what? Developing an app is a bit like baking a cake. You have this grand vision, but it can go very south quickly if you don’t tailor your steps accordingly. I now recall my first attempt at app building back in the day (not long ago). It was meant to be this slick fitness tracker where users could record workouts and receive motivational quotes. Why? Because I went into coding immediately without considering who would use it and how they would engage with it.
After wasting weeks on that project, I learned that building an app isn’t just about tech skills, it's about planning. And I know planning is not as exciting as imagining features, but it pays off later. It begins with a simple question, What problem does my app solve? For instance, perhaps you have an idea for an app that connects people with local hiking trails. That’s specific to the point where it will inform every decision you make from here on out.
Once you have your “why,” draw a simple wireframe; it doesn’t need to be fancy. I used pen and paper for my second app idea, and it worked. Outline the key screens and walk the user journey. Where will someone tap first? What happens next? A tool such as Figma or Sketch will help you do this, but a napkin will also work. The aim is to visualize the journey before diving into development.
Now, the fun part or at least the part most people consider fun is selecting the right tech stack. If you’re not a developer, this may seem daunting but don’t panic. Thousands of no-code platforms, such as Bubble or Adalo, allow you to create your apps without writing a single piece of code. On the other side of the fence, things like Swift (for iOS) or Kotlin (for Android) are good options if you want it to be completely customizable. Then, there’s backend stuff like Firebase or AWS to store data. That is a lot to digest, but do it in stages.
Hindsight is still 20/20. What do you wish you had known sooner? Test early, test often. When I eventually created my second app, a budgeting tool for freelancers, I waited for everything to be perfect before I showed it to anyone. As it turns out, half of the things I thought were genius fell flat for users. So spare yourself the headache and get human feedback as soon as possible. A simple tool like UsabilityHub or sharing your prototype with friends can provide invaluable insight.
It feels so good when you finally launch your app, but it is just the beginning. After launching, regularly check analytics to understand how people are interacting with it. Are they falling off at a particular screen? Is there something nobody’s clicking on? This and all the other clues to help you get better with time.
It takes time and ingenuity and gets a few screw-ups along the way. But hey, if I could do it, you can too.
Creating a Captivating User Interface (UI)
.webp)
But in a nutshell, user interface design is way more than just designing based on how the page would look. You know, take some cool fonts, some pop of color, and that's it. So I knew from there that no amount of eye candy goes over a UI that can't do its job. Believe me, nothing is more disheartening than fine-tuning what you believe to be a work of art only to reside away from a user's view like a rubber ball.
So, once, I worked on a project where we were building an app for small business owners. We spent weeks adjusting gradients and button shadows seriously, don't even get me started on how many meetings we had about the shade of blue in the logo. But when we launched? People weren't spending more than five seconds on the app. That's when I realized that good UI design isn't meant to impress; it's intended to help people achieve their goals with as little thought as possible.
So, one copywriting lesson learned the hard way, beauty will take you nowhere, and usability is king. If anyone can use your platform intuitively, they will stay, even if it is not the prettiest thing in the world. For example, I recently redesigned an e-commerce checkout page by making the layout more straightforward. But rather than try to squeeze six fields into the form, I reduced it to three. Guess what? Conversions went up by 27%. Well, sometimes less is more.
Now, let’s discuss color schemes because that is a significant thing. Many use excess colorful shades, which, in the end, bombard users. Stick to two or three primary colors at most and use shades or tints to mix it up. Oh, and please test your color choices for accessibility. And nothing worse than discovering later that half your audience can't read the text as it fades into the background.
Another tip? Keep buttons and interactive elements the same. Nothing throws users off more than “Submit” buttons that differ in size or shape from page to page. When people trust you, they stick around, as consistency builds trust. Consider your favorite apps; they likely follow this rule religiously.
Prototyping tools are a godsend. Things like Figma or Adobe XD allow you to create mockups rapidly for testing ideas before you sink a lot of time into them. I recall once spending hours implementing a feature, only to discover while testing that it felt clunky. If I’d prototyped it first, I would’ve saved myself from a lot of heartache.
When designing an engaging UI, it all boils down to understanding your audience. Who are they? What do they need? And how can you simplify their livelihoods? The magic happens when you hit that sweet spot between form and function.
Prepare Your App for Testing and Debugging
Well, let me tell you testing and debugging an app is like solving your murder mystery as a detective. You're the perpetrator, the victim, and the detective wrapped into one. I've been there, trust me. There was one time when I decided my app was ready to launch. It looked good, felt smooth, and even passed some elementary tests. Clicking the "Submit" button did nothing, one user reported. That was where the heavy lifting started.
I initially had no clue how to do that. How do you debug something that doesn't yield any error messages? As it turns out, it wasn't a bug in the traditional sense; it was a tiny line of JavaScript code that didn't get along with older browsers. The lesson is to always check against different environments before celebrating the victory.
Here's the thing about testing and debugging, they're not sexy, but they sure are important. A trick I swear by is to use automated testing tools early in development. Tools such as Selenium or Jest can save hours of frustration, allowing you to catch the potential catastrophe stage before problems go out of control. And sure, there is time spent setting them up, but it pays off down the line.
Don’t get me wrong automation is not the only game in town. Manual testing isn’t dead, though. I learned this once when I hitched my mobile app to only automated tests and got feedback from a very frustrated beta tester that the login screen looked wonky on smaller-screen iPhones. So yeah, mix it up. They tend to hide in the most unexpected places, taking manual and automated approaches.
These could be bugs or anything else not up to the mark. Sounds boring, right? But here’s what essential patterns develop over time. Perhaps most of your bugs come from third-party APIs, or some specific features keep breaking after each update. Having a record you can turn to helps you anticipate problems down the road.
Oh, and here’s a pro tip to get other people involved. Believe me, there are things you’ll never see yourself that a fresh pair of eyes will catch. Beta testers colleagues, and even your mom might run into something meaningful. Just be sure to thank them profusely because finding bugs isn’t fun.
Testing and debugging will never be my favorite part of building apps, but they are non-negotiable if you want happy users. Take it from someone who’s gazed at lines of code until her eyes crossed it pays off. So roll up your sleeves, put on your metaphorical detective’s hat, and start digging. Your future self will appreciate it.
Launching Your App Successfully
A few things can be done to ensure your app is successful when launched. I remember the launch of my first app as if it were yesterday. It was meant to be this big, shiny moment, the culmination of months fine, years of blood, sweat, and caffeine-fueled coding sessions. I’d spent so long refining everything down that I’d forgotten to consider how people might know it existed in the first place. When I think back, I’ve learned that launching an app isn’t only about creating a fantastic product, it's about generating buzz, connecting with your audience, and ensuring they know you exist.
So, if you’re preparing to launch your app, hear it from someone who learned the hard way. You gotta be prepared. One thing I wish I’d done differently was to create buzz in advance of the release date. Because no one said successful app launches came together overnight and they don’t, they come together over weeks or even months, first by teasing features on social media, perhaps leaking minor and sneak peeks. For instance, at a later project I worked on, we had short video snippets showcasing core functionalities being used. People loved it. Engagement exploded, and by the time the app launched, we already had a small but loyal base of users ready to click “download.”
Never underestimate the influence of influencers and beta testers. These people can make or break your launch strategy. Before my near miss, I never tried contacting anyone outside my bubble. Later, I paired with micro-influencers people with smaller followings but super-engaged audiences and gave them early access to the app. They provided candid reviews and posted their experiences honestly online. And that talk is all the marketing it requires.
Here’s where this gets technical but hang in because this matters. If you’re listing your app on the Apple App Store or Google Play, SEO is essential in getting your app discovered. Optimize your app title, description, and keywords for search. Research terms your potential users might input in the search bar and pay close attention to these keywords; tools like Google Keyword Planner or SEMrush can be helpful. And screenshots and demo videos, don’t forget screenshots and demo videos. Those images have to grab the attention because, let’s be honest, most people swipe quickly. They should click away from your app page, but if your app page looks too dull, you’ve lost ‘em.
But you know what? Despite all these strategies, things happen. Servers fail, bugs crop up, or downloads come in slower than planned. I felt that frustration in being there. The key is to remain agile and responsive. After launch, keep a close watch on analytics lifesavers such as Firebase or Mixpanel and tweak the things that aren’t working. Perhaps you must streamline your onboarding process, or your ads aren’t aimed at the right demographic. Post-launch tweaks can make a difference.
After all, there is only one successful way to start an app as a journey not a destination. Yes, the first rollout feels epic, but, as ever, recall it’s just for starters. So learn, pivot, and most of all, love and listen to your users. And who better to help create a killer app than the ones who’ll be using it?
Post-Launch App Maintenance and Updates
Launching an app is like throwing the biggest party of your life. You’ve spent months, maybe even years building, polishing, and dreaming about how users will love it. All right, maybe not crickets, but there’s this strange hush after the first buzz fades. When reality sets in, the real work begins after your launch. Trust me, I’ve been there.
I vividly remember the launch of my first app. It was an essential productivity tool to motivate people to track their habits. Initially, all was well. Downloads came swiftly, reviews were good, and I felt like a tech rock star. But two weeks later, things began unraveling. Users found bugs I hadn’t even known were there. Others grumbled that it sucked up their battery life faster than a child with a juice box. Some said the interface was clunky on older devices. I was overwhelmed as if drowning in a sea of emails. Step one is to launch, but the magic is maintaining and updating your app after launch.
One thing I wish I had been told sooner is to build a feedback system from the start. Users should never be forced to leave bad reviews or uninstall your app. Instead, make it super easy for them to share their thoughts. Include a feedback button in the app and in-app surveys, or even create a community forum for users if you feel ambitious. People want to be heard; honestly, their input will save you hours of guesswork.
Another error I made in the early days? Ignoring analytics. For instance, most crashes occurred on Android devices under version 7.0. When I went through that data, I saw that those users were attempting to use a feature that wasn't fully optimized for their operating system. Fixing this issue alone increased my retention rate by almost 20%. What is the moral of the story? Analytics are not merely numbers; they are insights upon which to act.
Now, let's get to the updates. Updates are the watering of a plant, kinda. Neglect it, and your app will die. Push too many at one time, and people may get upset. Find a sweet spot perhaps bi-weekly or somewhere between 4-6 weeks to unleash new features, bug fixes, and performance improvements. You can clarify it, but don't leave all this clarity for update notes. A generic "bug fixes and improvements" message won't do. Be specific. Let users know why the update is essential to them. So, "Fixed battery drain issue on Android 7.0" is much more helpful than a changelog entry that says "Minor tweaks."
Oh, and a pro tip here: Test your updates before making them live. Sounds obvious, right? As it turned out, it broke the login process for half of my user base. Talk about a wake-up call. So, from then on, I always did extensive QA tests on multiple devices before any releases went to production.
Keeping up with an app isn't all that glamorous, but it's crucial. Consider it the same as maintaining a garden. Yes, planting the seeds is thrilling, but nurturing the wedding, the watering, the pruning makes it bloom. So get your hands dirty, keep in touch with your users, and keep iterating. Trust me, the long-term successful apps are the ones that keep iterating.
To Conclude
Building an app might seem daunting initially, but don’t worry; it’s not as complicated as it looks. With the right mindset, assistance, and tools accompanied by appropriate guidance, anyone can learn how to make an app for beginners in 2025. Every successful app was once an idea like yours; keep that in mind. So why wait? Embark on the journey today; maybe you’ll make the next big thing someday.
.svg)
.svg)
.svg)
.svg)